 Another view of the roosts.
 My pulley system for opening the pop door. I used a plastic cutting board for the door.
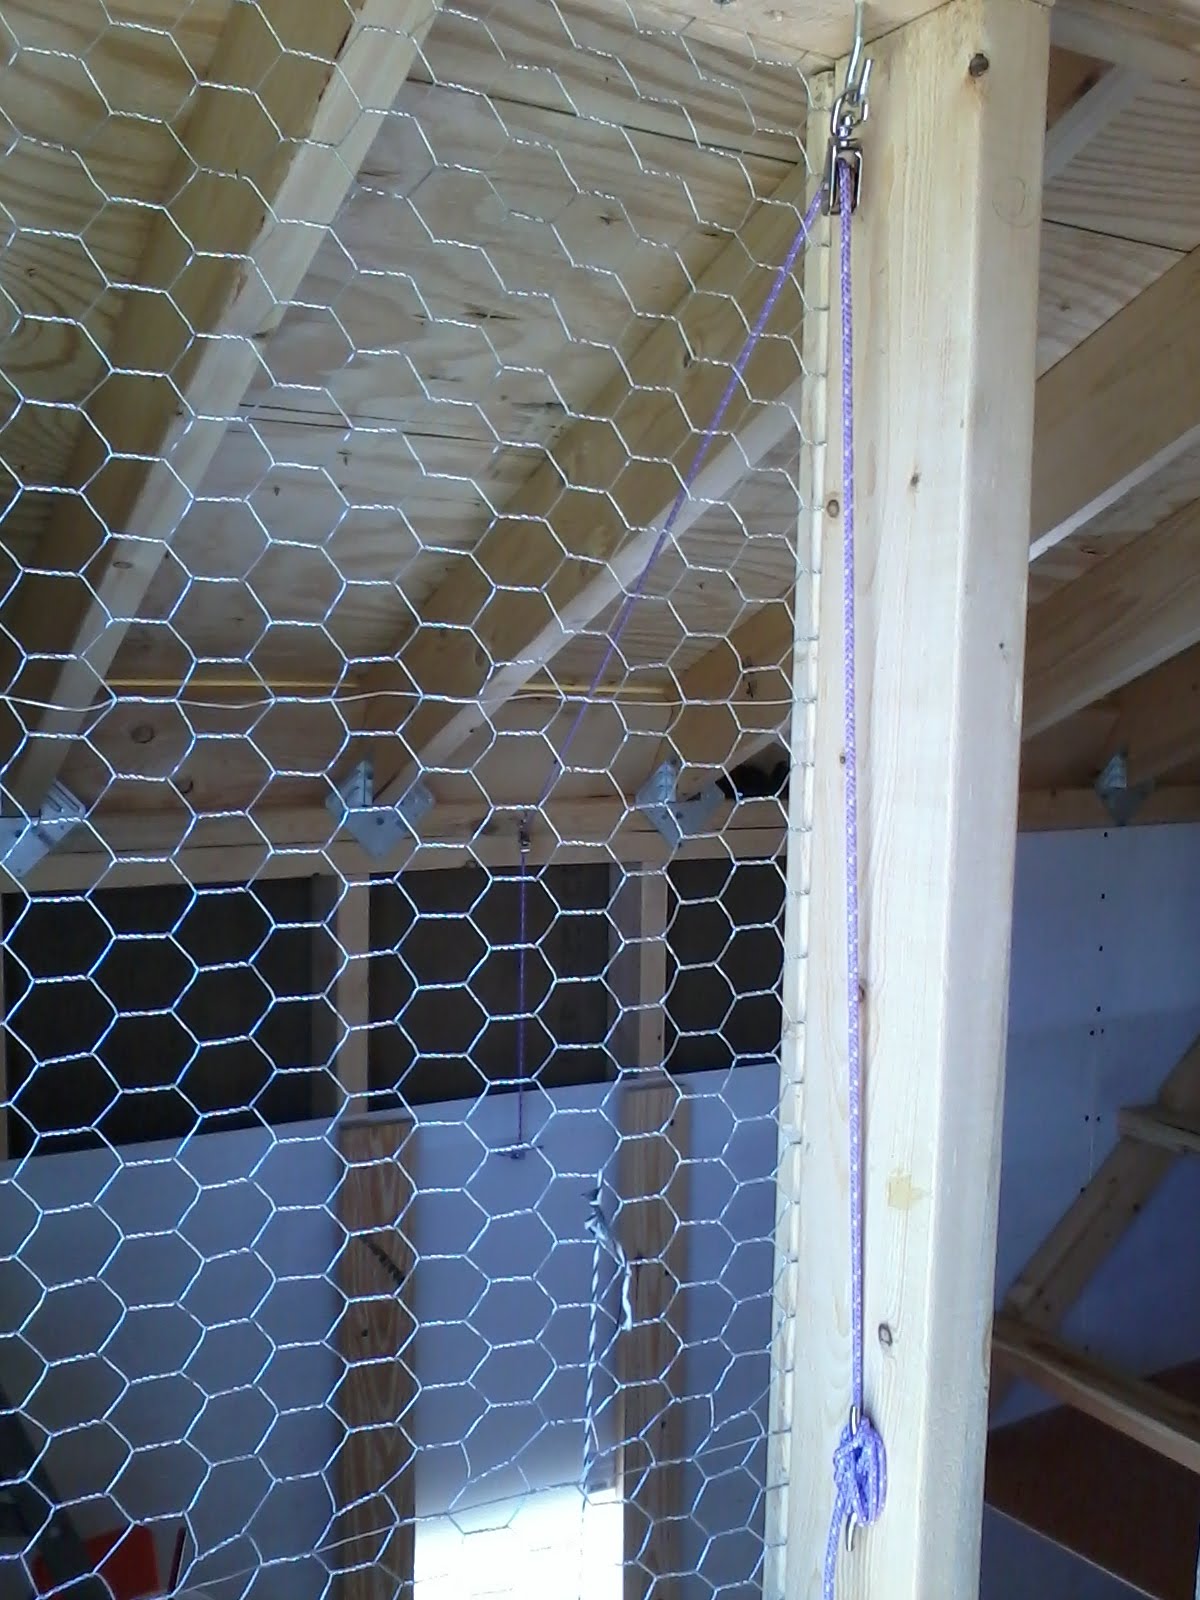 The end of the rope used to open the pop door.
 A view from the roosts of the homemade feeder I made for about half the cost of a factory-made feeder.
 The screen door inside the coop. Yes, it's a mess right now, but it's under construction.
 I dug holes and back filled them with gravel and used leftover pieces of the 4X6 timbers to place the corners of the chainlink panels on.
 Getting the run positioned. Hardware cloth has been added to the bottom two feet of the run to prevent predators like racoons from reaching through the fence and grabbing a bite to eat. I will also attach hardware cloth to the bottom of the fence and let it lay flat on the ground to prevent digging.
 I added the trim to the corner tonight and attached the run.
 I wanted to give the girls as much run space as possible, so I bought 12-foot panels on sale, but the coop is only 10-feet wide. So, to keep the run square and not lose any square footage, I fashioned an improvised attachment system for the back corner. A piece of trim will cover the edge of the hardware cloth on the corner of the coop.
 I sandwiched the other edge of the hardware cloth between two pressure-treated 1X4s and attached the chainlink panel to the 1X4s.
  A full view of the run.
No comments:
Post a Comment